
On this page
An evaporator replacement is one of the larger AC jobs, because the coil lives inside the heater box behind your dashboard. Route 66 Auto Repair in Upland only recommends it after we prove the leak is at the evaporator. We explain the labor before a single dash screw comes out, and your written estimate lists everything that gets replaced while the dash is apart.
How do we confirm an evaporator leak?
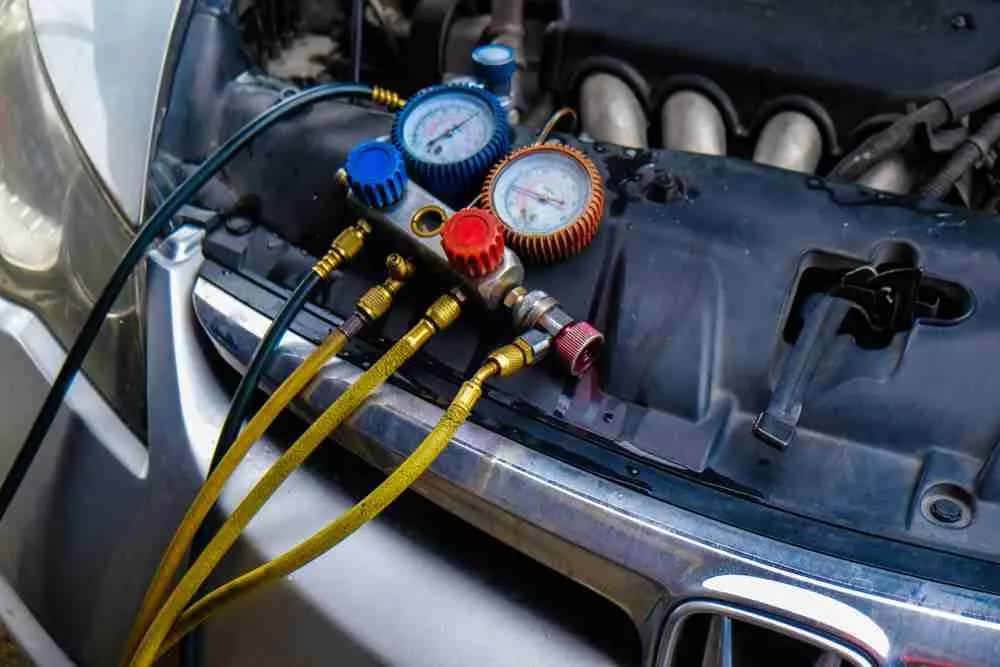
We cannot see the evaporator without taking the car apart, so we use indirect evidence. An electronic leak detector probe is placed at the condensate drain outlet under the car and at the center vent with the blower off; refrigerant is heavier than air and settles there. If dye was added earlier, the water dripping from the drain may glow under UV light. A standing vacuum or pressure test with the external parts checked tells us the leak is inside the case.
We also rule out the fittings at the firewall and the expansion valve seals, which are easier to reach and often mistaken for the coil.
Why is evaporator replacement so labor-heavy?
On most modern cars the heater box that holds the evaporator is built into the car before the dashboard goes on. Getting it out means removing the dash, steering column supports, airbag modules and wiring, then draining coolant because the heater core shares the box. That is why labor dominates the estimate. Since the dash is already out, we point out parts worth doing at the same time, such as the heater core, blend door actuators, or the expansion valve. Each is its own line so you can decide.
Our evaporator replacement process
Step 1: Prove the leak
Drain and vent sniff tests plus a standing test isolate the coil.
Step 2: Plan the teardown
We quote labor, coolant, refrigerant and optional parts before starting.
Step 3: Replace the coil
The dash and heater box come out, and the evaporator is replaced with new seals.
Step 4: Reassemble and verify
Airbag and module checks, coolant bleed, vacuum, charge by weight and a road test close it out.
What's included in evaporator replacement
Included on the work order
- 01Leak confirmation at the drain and vent
- 02Refrigerant recovery
- 03Dash and heater box removal and reinstall
- 04New evaporator, seals and drier
- 05Coolant drain, refill and bleed
- 06Vacuum, charge by weight and system scan
How pricing and timing work
This is typically a multi-day job, and the look window depends on parts and the board. If a second technician helps lift the dash, we explain that before the clock starts. We text you if timing slips. If the evaporator is fine and the smell is the concern, evaporator coil cleaning is the much smaller job. For the full picture of what we check first, see AC system diagnostic.

Frequently asked questions
Can sealer fix an evaporator leak?
Sealer sometimes slows a very small leak, but it can clog the expansion valve and contaminate equipment. We explain the risk and do not add it without your approval.
Should I replace the heater core at the same time?
If your heater core is original and the vehicle has high mileage, doing it while the dash is out saves repeat labor later. It is your call, and it appears as its own line.
How do I know the dash will go back without rattles?
We label fasteners as they come out, replace broken clips, and road test over rough pavement before returning the car. If a rattle appears, bring it back and it goes to the front of the line.