
On this page
A radiator condition inspection at Route 66 Auto Repair in Upland looks at the one part that sheds your engine's heat into the air. Radiators fail by cracking at the plastic tanks, clogging inside, or getting packed with debris outside. We pressure-test for leaks, measure how well it drops coolant temperature, check the fins and cap, and write down whether to repair, clean or replace.
When to have your radiator checked
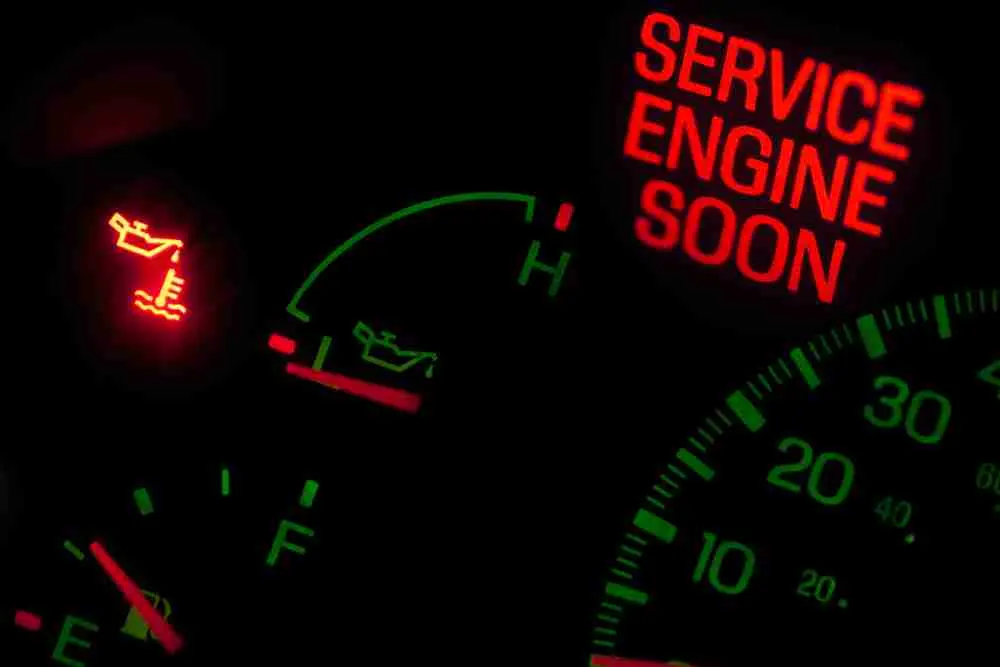
- The temperature gauge climbs in summer traffic on Foothill Blvd
- Crusty white or colored residue on the radiator tank seams
- Coolant drips at the front of the engine
- Bent or blocked fins behind the grille
- The radiator is original on a high-mileage vehicle
How do we check radiator condition?
With the engine cool, we pressurize the cooling system to the cap's rating and watch the gauge. A falling needle means a leak, and we look for where it goes. Plastic tanks crack along the seam where they crimp to the metal core, so that is where we look first. The cap gets its own pressure test, because a weak cap lowers the boiling point.
Then we warm the engine and use an infrared thermometer to read the inlet and outlet sides of the radiator and scan across the core. The outlet should be noticeably cooler. Cold stripes across the core mean blocked internal tubes. We also look at the fins: bent, corroded or packed with dust and bugs, they stop air flowing through. Finally we check the mounts and the fan shroud.
What the radiator report shows
- Pressure test result and leak location
- Cap pressure test result
- Inlet and outlet temperature readings
- Cold spots that suggest internal blockage
- Fin condition and airflow obstructions
- Photos of cracks, leaks or damaged fins
Our radiator inspection steps
Step 1: Pressure test
The system and cap are pressure-tested cold.
Step 2: Warm scan
Temperatures are read across the core once the engine is warm.
Step 3: Airflow check
Fins, shroud and fan are checked.
Step 4: Report
You get readings, photos and a repair, clean or replace recommendation.
What's included in a radiator condition inspection
Included on the work order
- 01Cooling system pressure test
- 02Radiator cap test
- 03Infrared temperature check across the core
- 04Fin, shroud and mount inspection
- 05Coolant level and appearance check
- 06Written report with photos
Need-now or need-later?
Need now: call
- A leaking tank or core
- A blocked core with the engine running hot
- A cap that fails its pressure test
Need later: book
- Dusty fins that can be cleaned
- Light seam residue with a passing pressure test
How pricing and timing work
Read next
Leaks and cracks lead to radiator repair. Dirty fins may only need radiator core cleaning. The test itself is described on the radiator pressure testing page. For fans, thermostats and hoses too, book the cooling system inspection.
Frequently asked questions
Will you fix my radiator before it overheats again?
Yes. We find out why it overheated first. If the radiator is the cause, the written estimate shows the repair. If it is the fan or thermostat, we tell you that instead.
Can I use a stop-leak product?
It may slow a small leak for a while, but it can also clog the radiator and heater core. Tell us if you have used one, because it changes what we look for.
Why do plastic tanks crack?
Heat cycles make plastic brittle over time, and summer heat speeds that up. Cracks usually start at the seam.